Why DIY Visa Photos Get Rejected — And What You Can Actually Fix
Most visa photo rejections are not about how you look. They are technical failures — a shadow on the wall, a file that is 50KB too large, or a background that photographs gray instead of white. According to the U.S. Department of State, even small errors in background uniformity, head positioning, or file format are enough to flag your image. The good news is that many of these are fixable online — quickly, and without retaking the photo.
That said, 2026 brought a significant new rule every applicant must know: the State Department now explicitly rejects photos that have been digitally enhanced using AI tools. This means the line between what is fixable and what is forbidden matters more than ever.
What the State Department Actually Allows You to Fix
The U.S. Department of State is clear that photos must not be digitally enhanced or altered to change your appearance in any way. However, technical corrections are a different category. A professional photo studio performs these same corrections on every print they hand you:
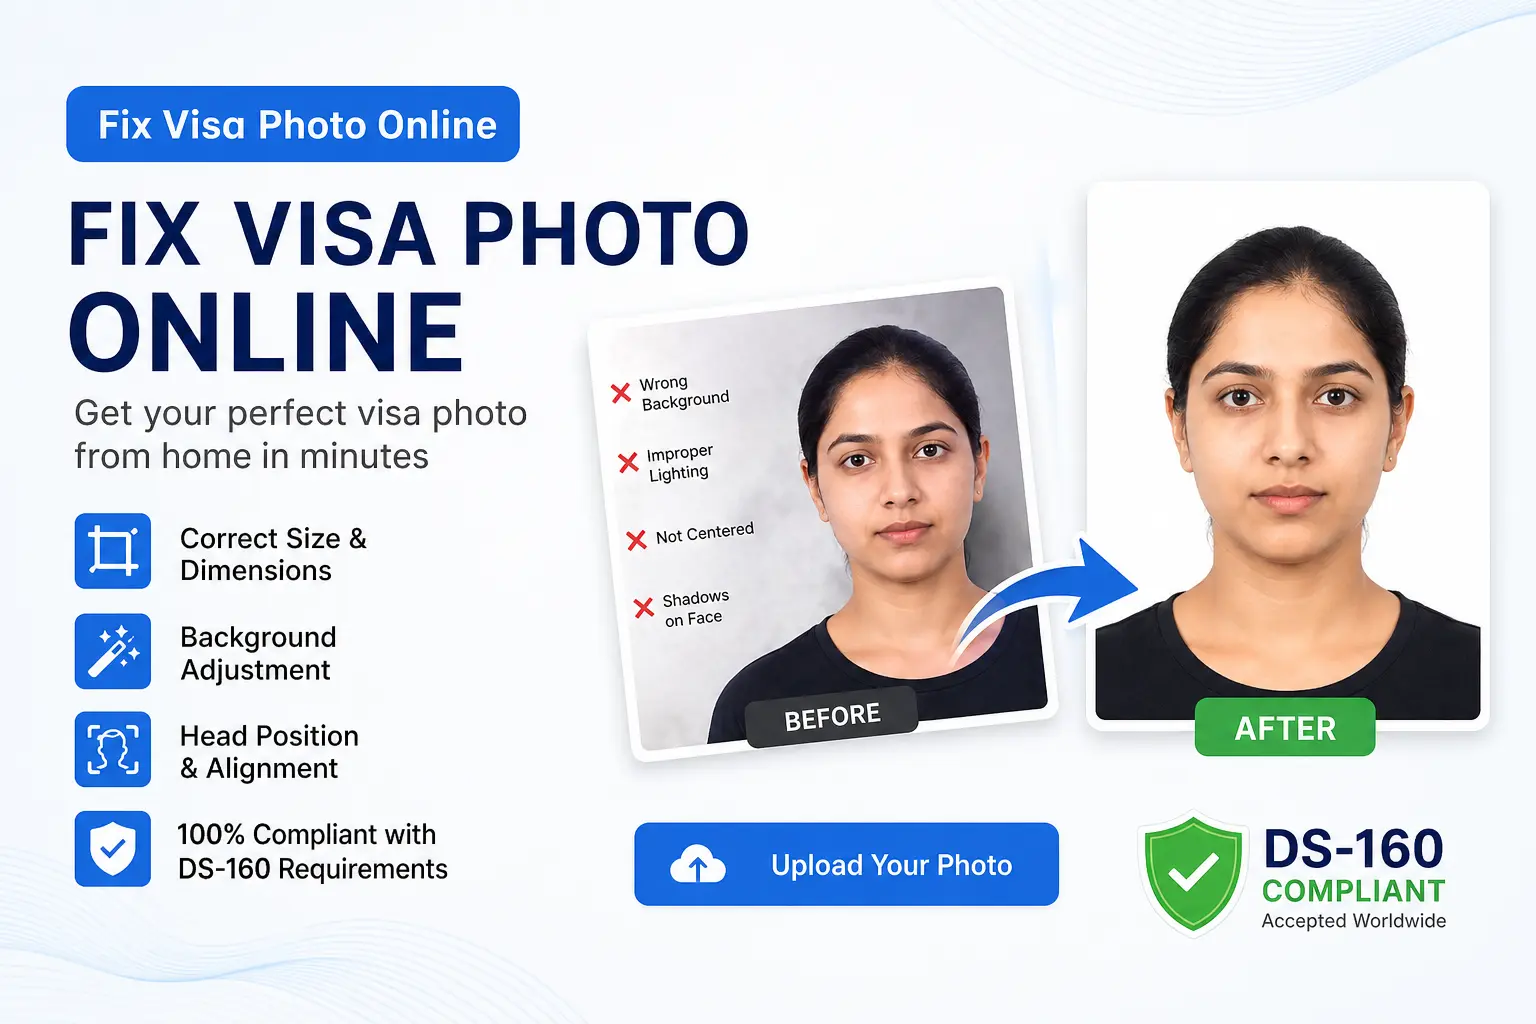
- Background replacement — replacing a gray, beige, or shadowed wall with a compliant plain white background
- Cropping and resizing — converting a 4:3 or 16:9 smartphone photo into the required 600×600 pixel square
- File compression — reducing a 3MB phone photo to under the 240KB limit required for DS-160 uploads
- Exposure correction — evening out uneven lighting without altering your facial features
What you cannot do: remove blemishes, smooth skin, whiten teeth, reshape facial features, or — as of January 2026 — apply any AI enhancement filter. The State Department's photo FAQ specifically states you cannot even use a photo editing tool to remove red-eye from your image.
The Three Most Common Issues — And How to Fix Them
1. Background Shadows
Shadows are the most frequent reason US visa photos are flagged. Standing close to a wall creates a dark silhouette behind your head that biometric systems are designed to detect. The State Department's photo examples page specifically lists shadows as an unacceptable condition. The fix: stand at least four feet from your background, and use even lighting — natural window light facing toward you produces the most uniform result. If the shadow is on the background only (not your face), an AI background removal tool can replace it cleanly.
2. Wrong Dimensions and Head Size
Smartphone photos are captured in 4:3 or 16:9 ratios, not the 1:1 square required for DS-160 submissions. Even after cropping, placing your head within the 50%–69% height range is hard to judge manually. A compliant visa photo maker handles this automatically by detecting your chin and crown and reframing the image to meet State Department specifications.
3. File Too Large for the CEAC Portal
The DS-160 portal requires your photo to be in JPEG format and under 240KB. A typical smartphone photo is 2–5MB. The CEAC system silently rejects oversized files — your confirmation page will show an X rather than your image. Generic image shrinkers can introduce compression artifacts that fail biometric checks. A dedicated passport photo tool compresses to the correct size while preserving image clarity.
💡 Always Upload the Original File
When using any online fixer, upload the raw, unedited photo directly from your camera roll. Photos forwarded through WhatsApp or already cropped have lost pixel data that tools need to produce a clean result.
When You Must Retake — Not Fix
Some problems cannot and should not be corrected digitally. Retake your photo if any of these apply:
- You are wearing glasses. The State Department has prohibited glasses in visa photos since November 1, 2016. Digitally removing glasses is grounds for rejection.
- Your head is tilted or turned. The State Department requires you to face the camera directly. Rotating a face digitally distorts features in ways biometric systems detect.
- Deep shadows fall across your face. Background shadows can be removed. Face shadows cannot be safely corrected — retake under better lighting.
- Your eyes are closed or squinting. The State Department requires both eyes to be open and clearly visible. This cannot be fixed in post.
Retouching vs. Technical Correction: The Rule in Plain Language
A simple test: if an edit changes how you look, it is retouching — and it is prohibited. If it changes the background, the canvas size, or the file format, it is a technical correction — and it is exactly what any professional photo service does. USVisaPhotoAI performs only technical corrections: background replacement, 600×600 cropping, head-position centering, and 240KB compression. Your face, features, and appearance are never altered.
How to Fix Your Visa Photo: Step by Step
- Start with your original file — directly from your camera roll, not a screenshot or a WhatsApp forward.
- Upload to USVisaPhotoAI — background replacement, cropping, head centering, and file compression happen in one step.
- Run a compliance check — confirm head percentage, background uniformity, file size, and JPEG format against State Department specifications.
- Download and submit — attach your corrected photo to your DS-160 at ceac.state.gov. If the upload fails for any reason, the State Department advises bringing one printed 2×2 inch photo to your embassy interview instead.
Stop Guessing.
Perfect It in Seconds.
Our algorithm simulates the exact scanners used by the US Department of State. Ensure your 600x600 photo passes on the first try.